How To Install PS2 BIOS on PCSX2 Emulator
PCSX2 is the most popular and powerful PlayStation 2 emulator for PC, allowing you to play your favorite PS2 games on your computer. However, before you can start playing, you need one essential file: the PS2 BIOS. This guide will walk you through the simple process of installing it.
The BIOS (Basic Input/Output System) is a piece of software from the original PS2 console that is required for games to boot up. Without it, PCSX2 won't be able to run any games.
Disclaimer: To use a PS2 BIOS file legally, you must own the physical PlayStation 2 console from which the BIOS was extracted. Downloading BIOS files from the internet is considered copyright infringement.
Step-by-Step Guide to Installing PS2 BIOS
If this is your first time running PCSX2, a configuration wizard will automatically appear. If not, you can always re-run it by going to Settings > First Time Setup. Let's get started!
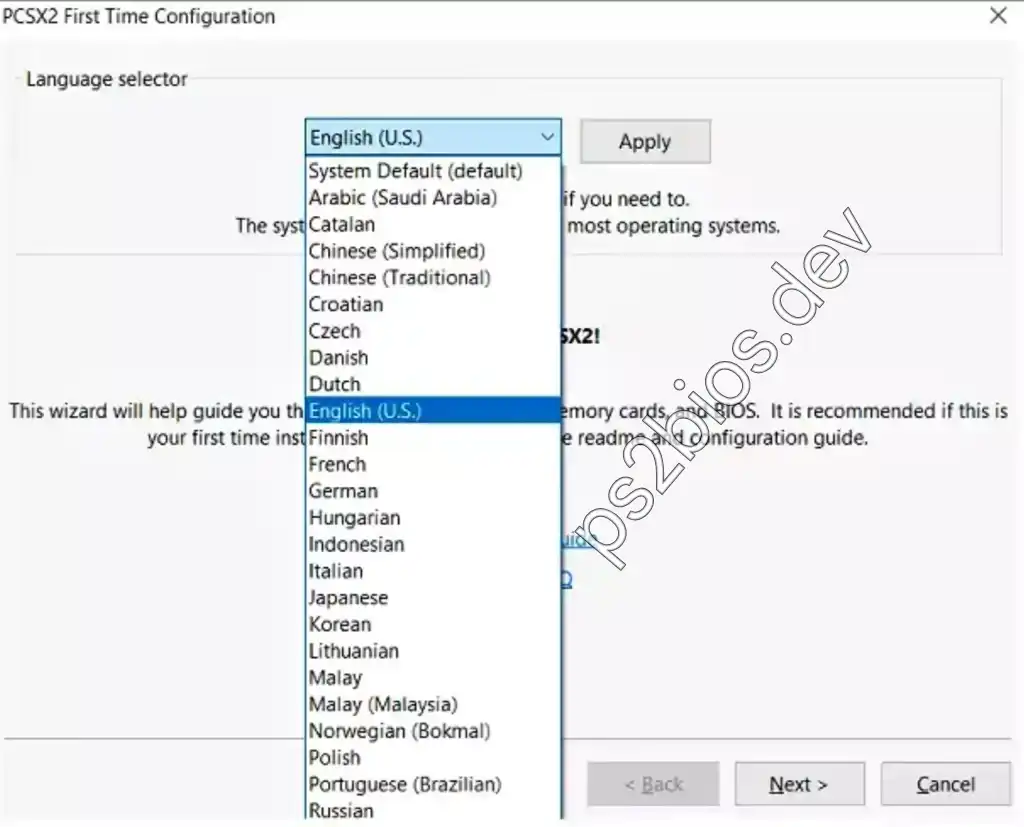
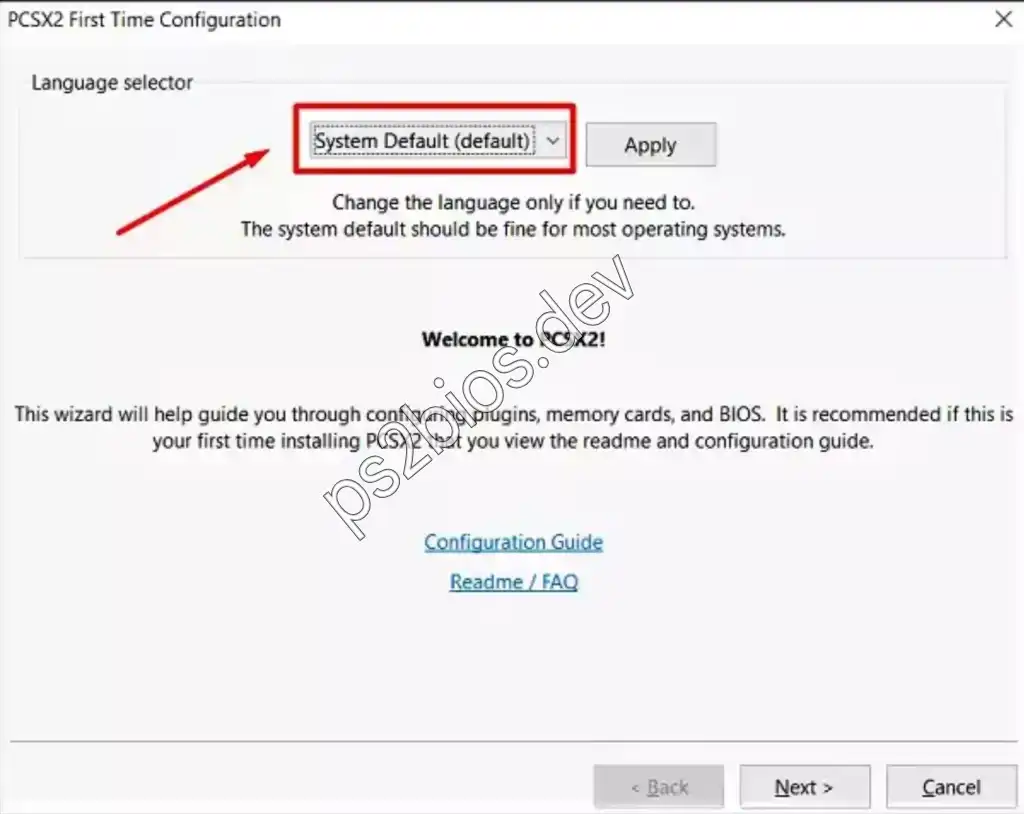
1. Language and Theme Selection
The very first screen asks you to select your preferred language and theme (light or dark). Choose what you like and click Next.
2. Import Your BIOS File
This is the most important step. PCSX2 needs to know where your BIOS file is located.
- The wizard will show you a list of BIOS files, which will be empty at first. Click the Import BIOS button.
- A file explorer will open. Go to the folder where you saved the PS2 BIOS file you extracted.
- Click on the BIOS file (it should be a
.file) and then click on "Open."Click "Open" after selecting the "bin" file.
3. Select the BIOS from the List
Once you import it, your BIOS will show up in the list. It will show the version and the area (for example, the US, Japan, or Europe). Click on the BIOS you want from the list to highlight it, and then click Next.
If you have it, it's best to use the most recent USA BIOS version for the best compatibility.
4. Configure Game Directories
Next, PCSX2 will want to know where you keep your PS2 game files (ISO, CSO, etc.). Click "Add Directory" and choose the folder where your games are stored. This will make them look good in the main PCSX2 window. Click "Next" after you've added your folder.
5. Controller Configuration (Optional)
Setting up the controller is the last step. PCSX2's default settings work well with most modern gamepads and keyboards. You can set it up now or later from the main settings. You can just click "Finish" for now.
Conclusion
That's all! You have successfully added the PS2 BIOS to PCSX2. The emulator is now ready to start up your favorite PS2 games. To start playing, just double-click on a game from your list on the main screen.
If you have any questions, feel free to leave a comment below!